
eMEDIX Online allows users to manage custom formats through the Custom Formats feature. Only users with the appropriate permissions may make changes to custom formats.
To use Custom Formats:
Click Custom Formats from the Administration drop-down menu. The Custom Formats screen displays. The grid includes the format number, format name, requester name, ticket number, claim type, description, payers, create date, and expired date. Users may expire any format rules that are in effect from this screen. Any changes made in Custom Formats displays in the grid. 
When the user selects the edit pencil, the Format Details screen displays with the description of the selected format. Payer Code Level and Expired are the only editable fields. 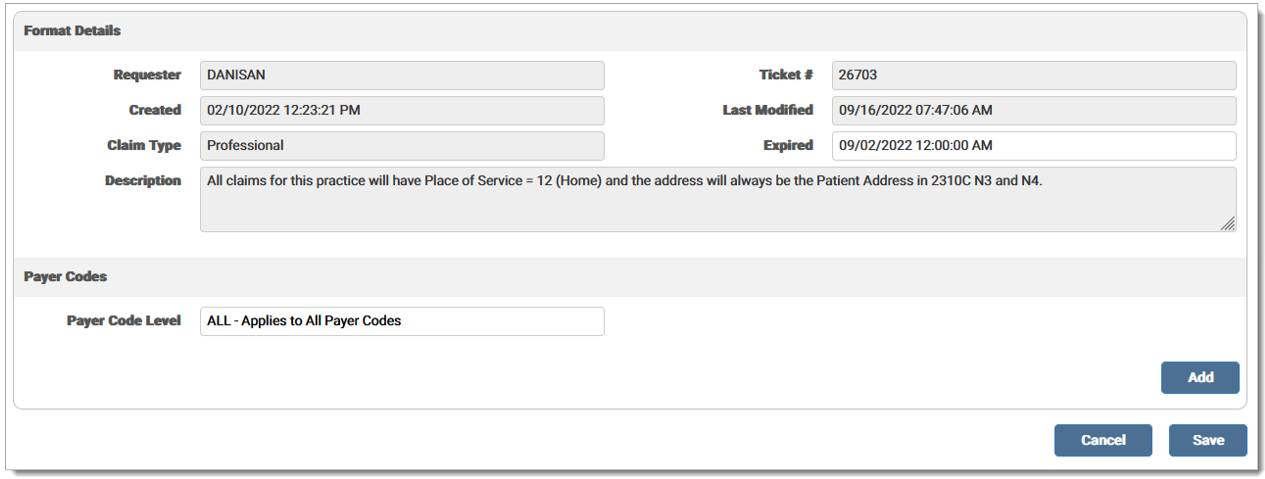
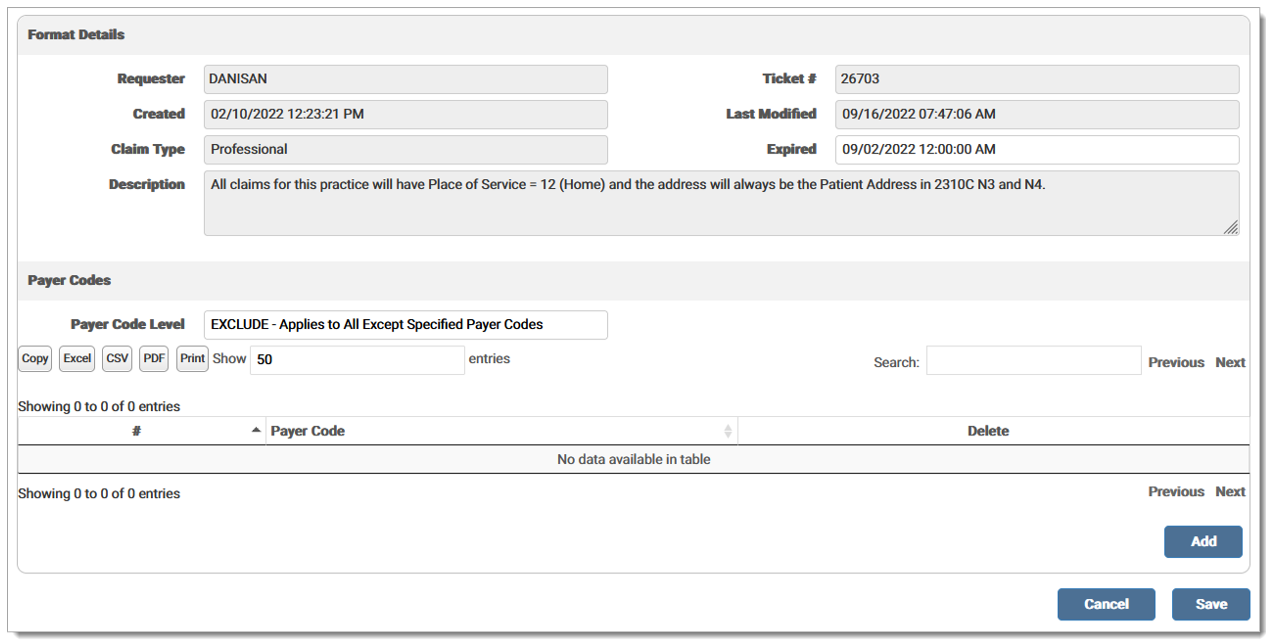
Users can edit the Payer Code Level using the drop-down menu. The following options are available:


To expire a format rule, enter a date in the Expired field. Click Save. Once saved, the format rule is expired in production the following day. 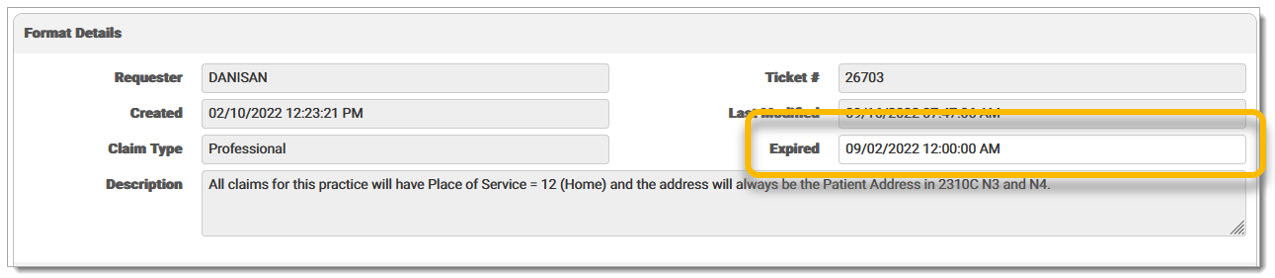
If a format rule is expired, a time stamp displays in the Expired column in the grid on the Custom Formats screen. 
A record is added to the Audit Log for the activity.
To add Custom Formats:
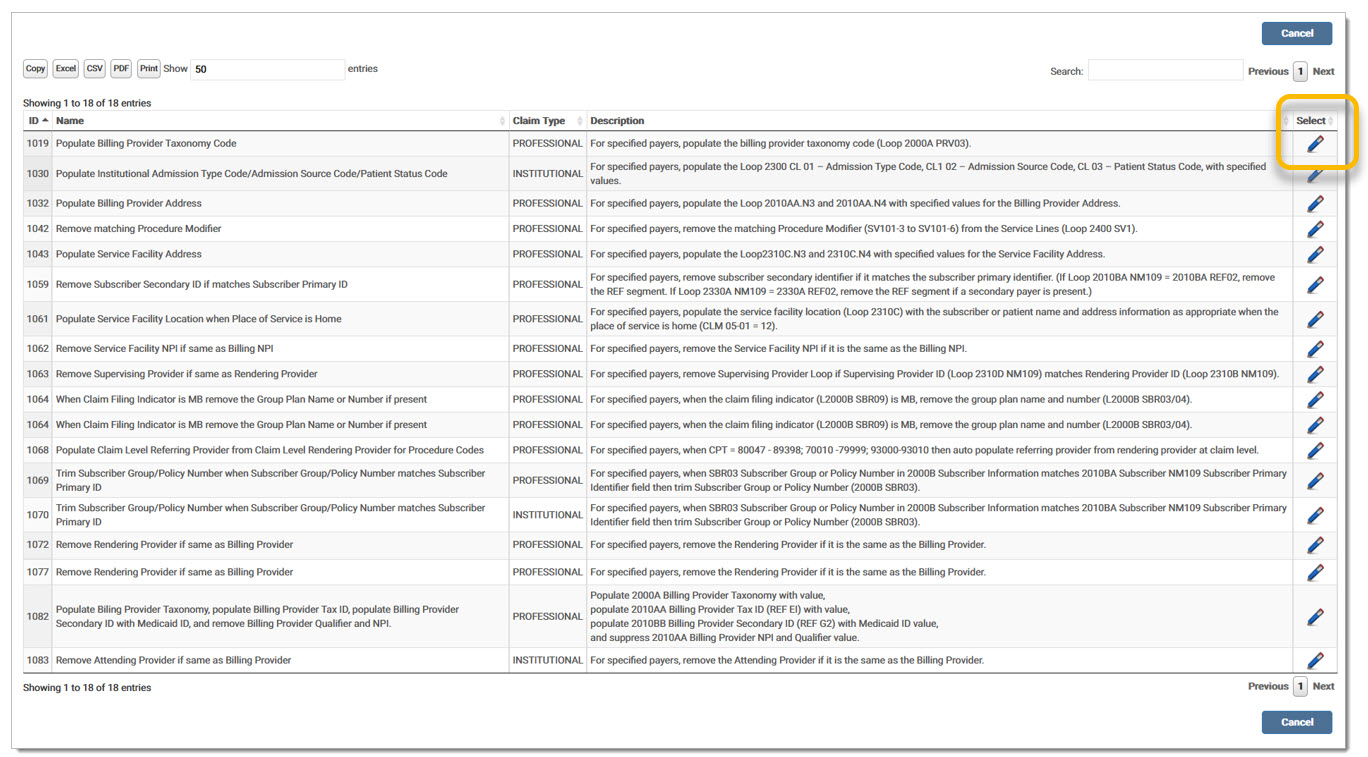
Click Add Format to select a format from the list.

The grid displays the available custom formats with ID, Format Name, Claim Type, Description, and Select. Click the pencil icon to select the desired format.
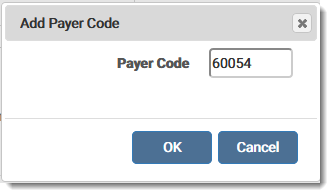
If a format requires a value to be entered, an input field for the required value displays. Enter the Value that corresponds to the Custom Format. In the following example, the Value is the Taxonomy Code to be populated. Update the Payer Code section as needed. Click Save to save the format or click Back to return to the selection screen. Note: The Value field does not display for formats that do not require input.
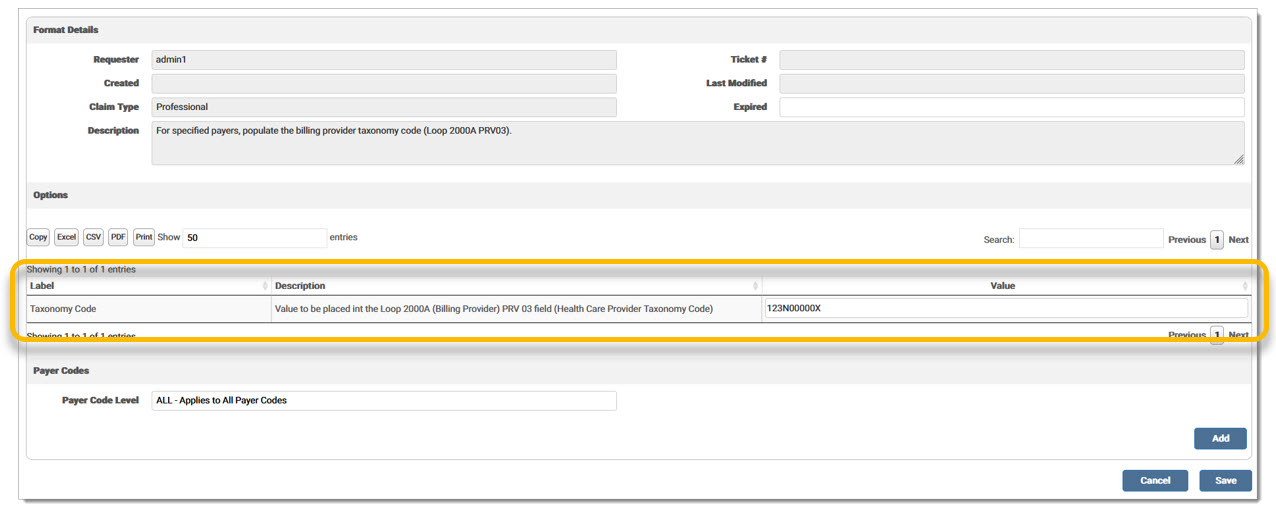
A message displays indicating the custom format was successfully saved. The added Value displays in the Description.

A record is added to the Audit Log for the activity.
eMEDIX Online | ©copyright 2025 CompuGroup Medical, Inc. All rights reserved.